The best bassinets can be put together almost as fast as it takes to change a onesie

Every parent knows how exasperating it can be to put together baby furniture. Your baby is adorable (and that first smile will just melt your heart), but getting your home ready for him or her can monopolize your time and patience. And when you have to worry about feedings, diapers, and several other things related to your newborn – all while trying to take care of yourself, too – it can become very difficult to find a spare moment to do something like put a bassinet together. Fortunately, if you pick wisely, it is a task that can take almost no time at all.
Bassinet vs. crib
Wait, a bassinet is just a fancy word for a crib, right? You’ll be forgiven if this is a thought you’ve had, as it is a common misconception among new parents. While they both do a similar job, a bassinet is much smaller and meant to be easily moved from room to room. A crib, on the other hand, is generally intended as a baby bed in a nursery. Most parents prefer to go with a bassinet for their newborn for the portability factor, as well as the fact that it doesn’t take up a lot of space.
Finding the right bassinet
In order to find the right bassinet for your baby, there are certain things you need to focus on, including:
-Safety
Your biggest priority with your bassinet should be safety. You’ll want to make sure any model you’re interested in meets current safety standards. And while used or hand-me-down items may be tempting to take, these are generally not recommended. In addition to being made possibly before safety regulations were updated, they could also have wear and tear making them a hazard.
-Portability
As mentioned, bassinets are ideal if you want an easy-to-move baby bed. With that being said, not all of them are created equally. First of all, if they don’t have wheels, this makes getting them into different rooms cumbersome. If they do have wheels, you have to be sure that they can lock securely so you won’t have to worry about inadvertent rolling.
-Assembly
There’s nothing worse than seeing a beautiful piece of furniture in a store or online, ordering it, and having it arrive at your home in about 1,000 parts that you have to put together. This is why you’ll want to make sure that your bassinet can be assembled pretty simply. And if you plan to travel with it, you need to know that taking it apart and then putting it back together won’t cause you to tear out your hair.
Li’l Pengyu bassinets: Safe, portable, and incredibly easy to assemble
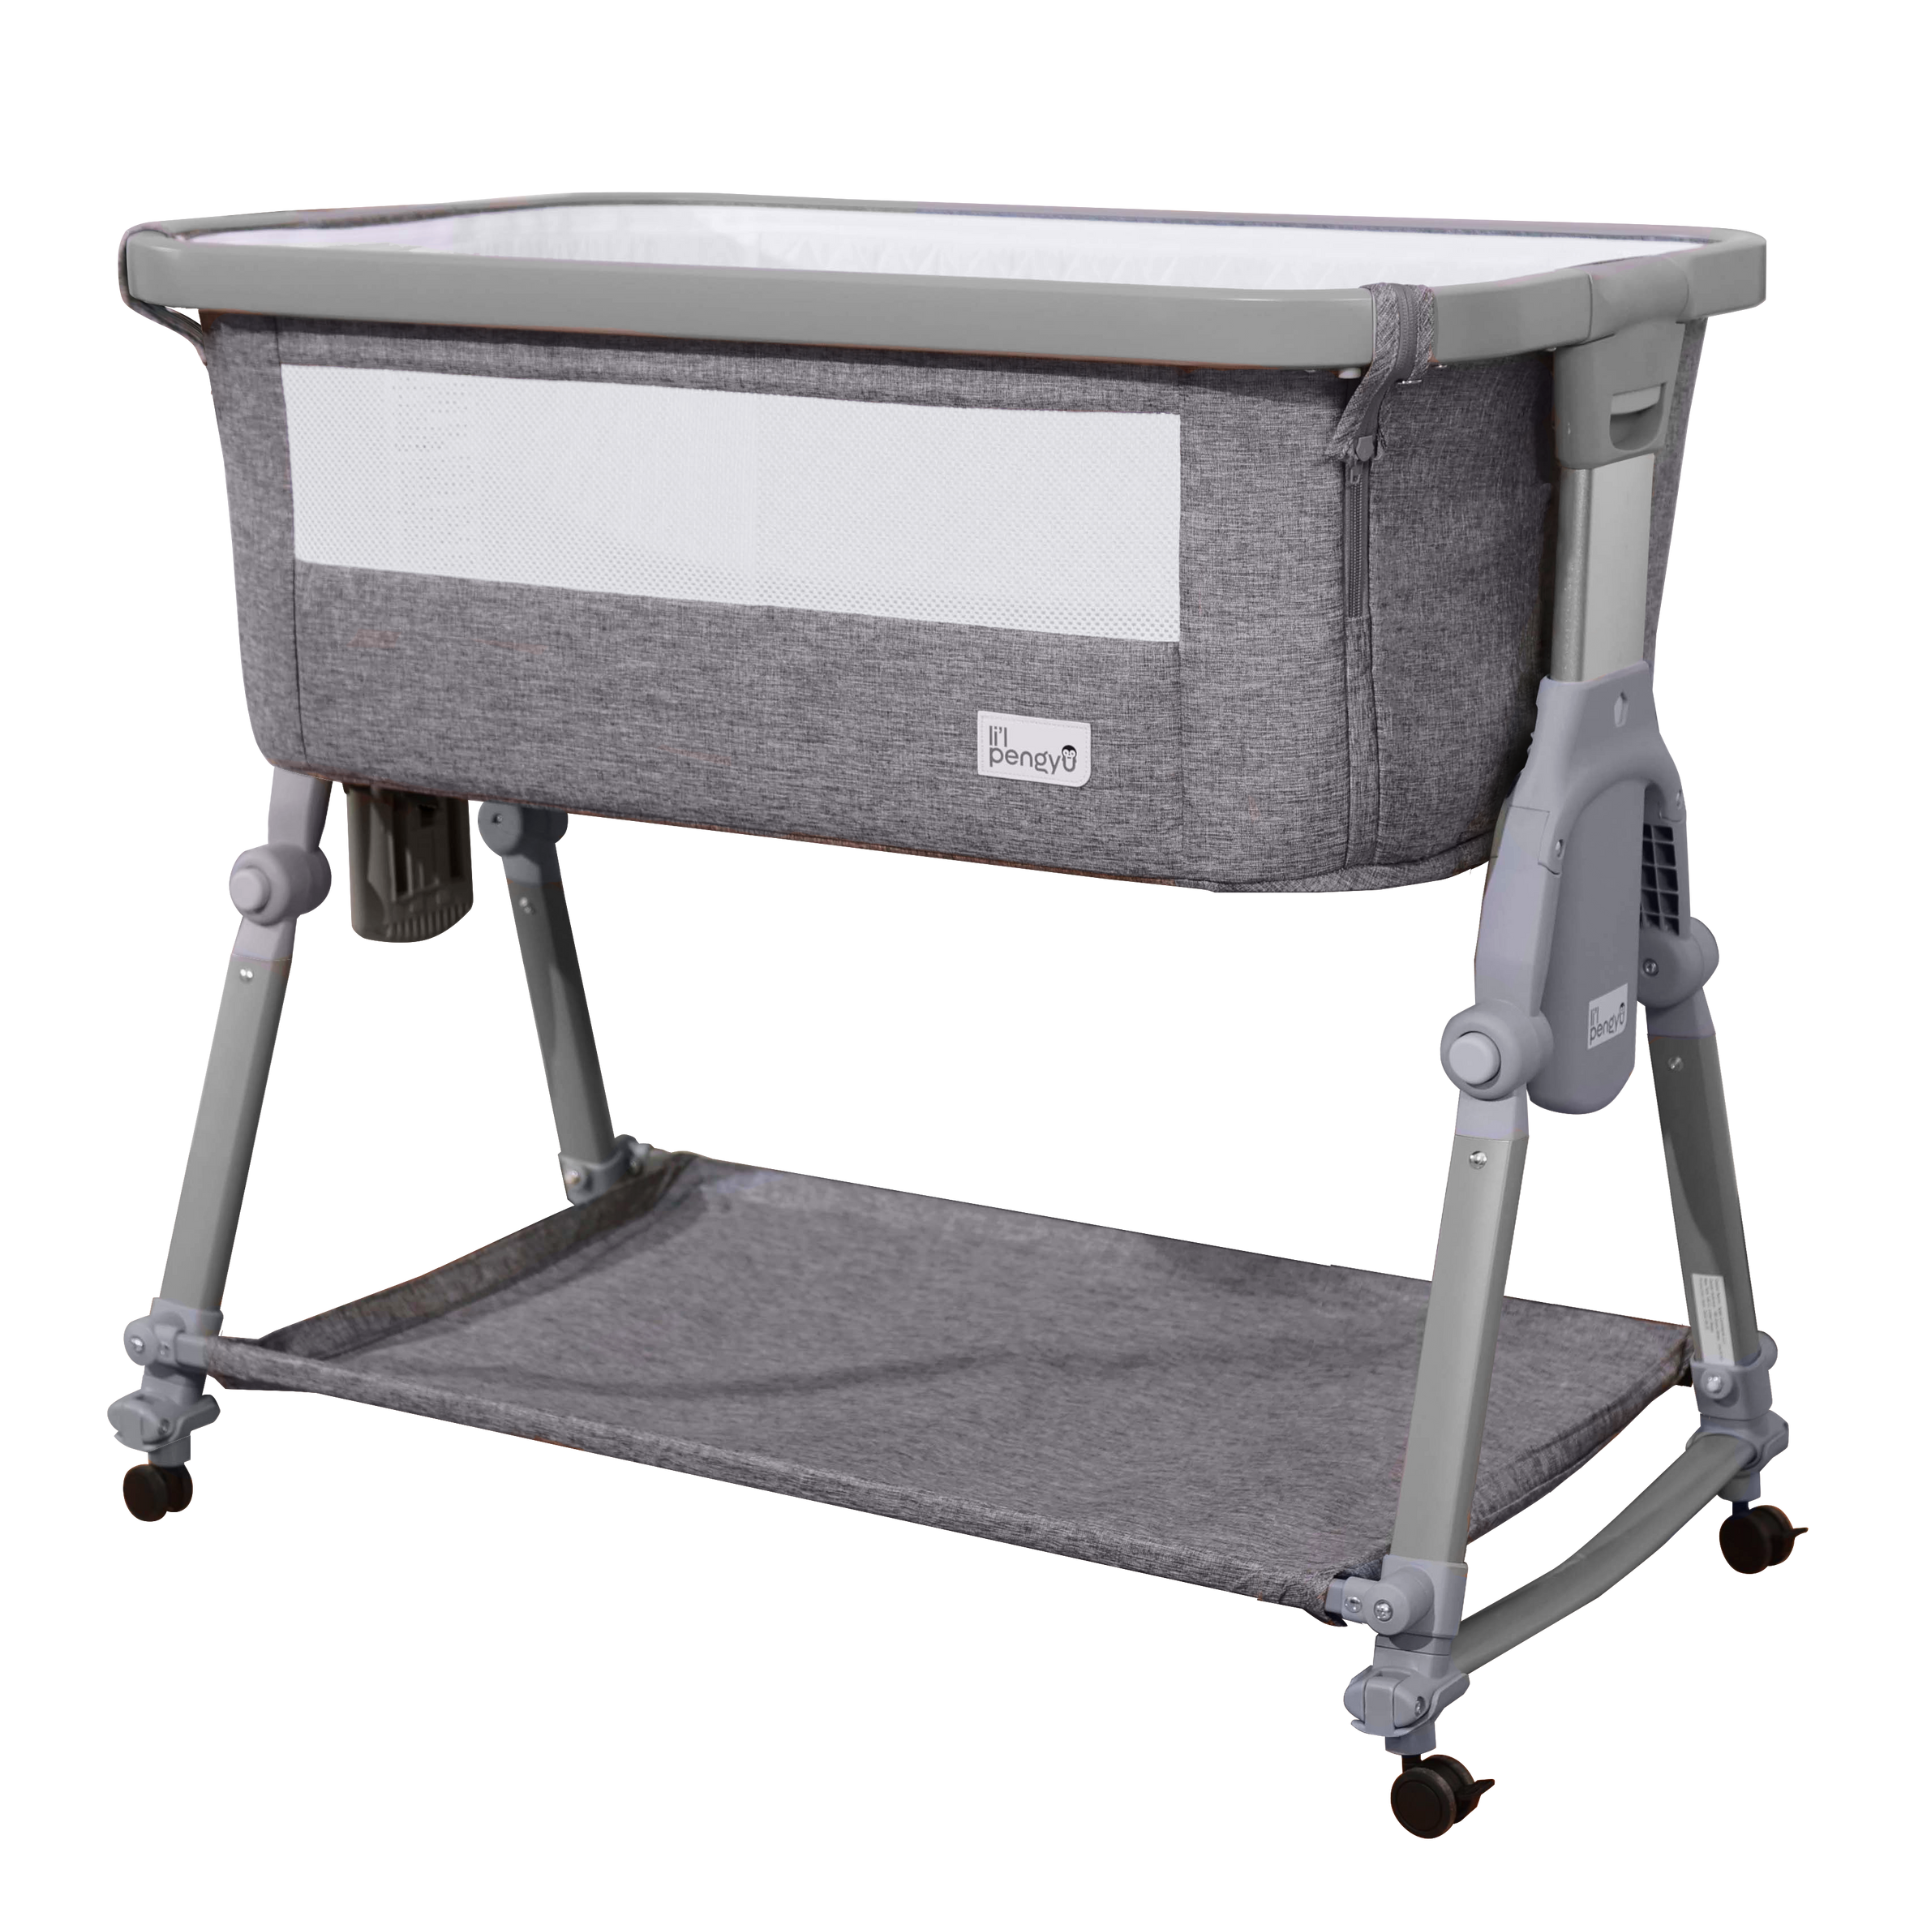
With one of Li’l Pengyu’s bassinets, you can immediately check all three of those must-haves off your list. In addition to being both CPSC and ASTM-certified, they have an enlarged mesh design on both sides that prevent suffocation risks. Plus, because the zippers are on the outside, they don’t pose any danger. Our bassinets can quickly and easily be brought wherever they are needed, and the wheels are lockable. Perhaps best of all, they can be assembled (and disassembled) very quickly, and no tools are required!
Putting together our Bedtime Bliss Bassinet
Assembling the Bedtime Bliss Bassinet is such a piece of cake, you’ll wish everything you put together could be so simple. It takes just three steps:
-Step 1
First, install the wheels onto the foot stands. You know they are in correctly when there is no significant gap between the wheels and foot stands.
-Step 2
Next, open the crib body and expand the folding tubes outwards on both sides until you hear a click.
-Step 3
Lastly, wrap the straps that extend from the two sides of the bed board around the iron plates on both foot tubes. Then, buckle them up under the bed board and pull the straps to tighten.

Safer Sleep Bassinet
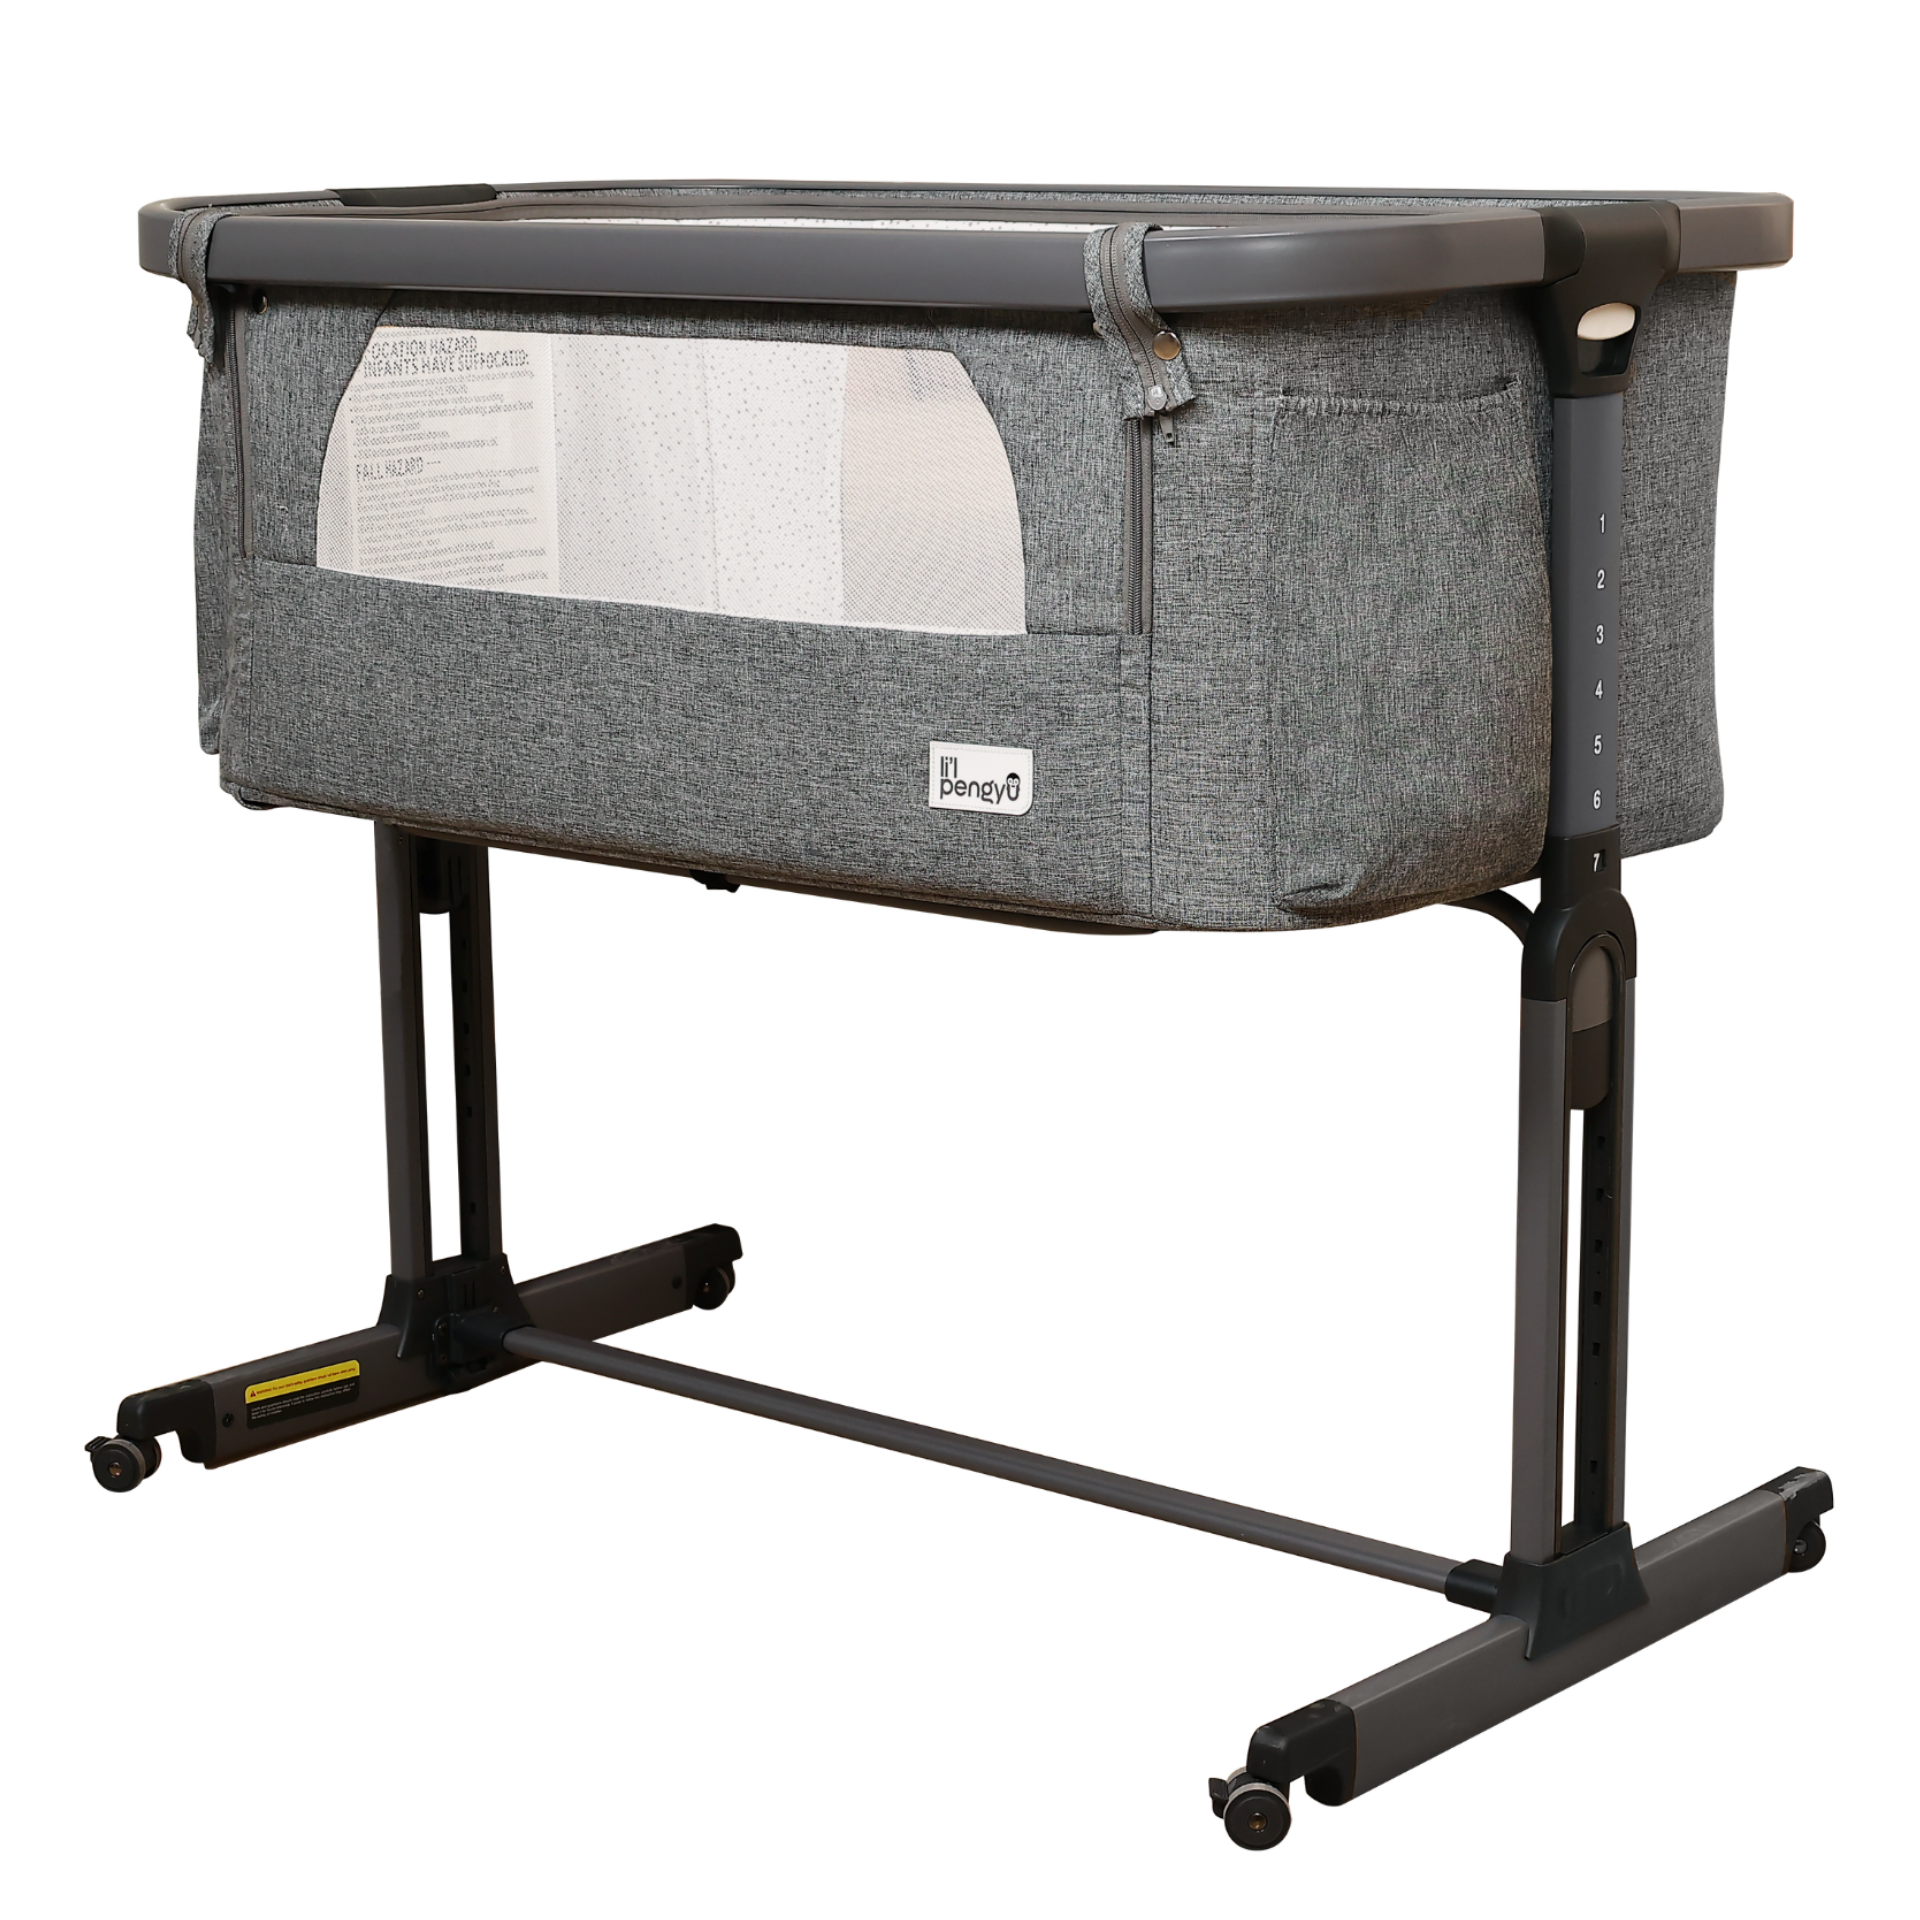
While the Safer Sleep Bassinet is a little more involved, it can still be assembled fast in two steps.
-Step 1
First, turn the height adjustment tube on one side into a 90-degree angle. Next, insert the height adjustment tube into the foot tube. Press the marble in the foot tube and push down the height adjustment tube for fixation. After installing the foot tube on one side, follow the same steps for the other side.
-Step 2
Install the two ends of the transverse tube into the plastic slots of both foot tubes. Then place the bed rail in the bed frame and make sure that the side of the bed rail with the Li’l Pengyu logo is on the same side as the side buckles. Finally, zip up around the bed rail, buckle the protection cloth cover of the side buckles, and then tighten the Velcro at the bottom.
You can also follow our assembly video for step-by-step guidance:
Li’l Pengyu bassinets take some stress out of planning
Simple, right? Whichever bassinet you go with, you know you can give your baby a safe and comfortable spot to sleep in almost no time. And if you’d like to see what some very happy parents have said about our products, check out these reviews.


